First published on February 5, 2020 • Last updated on February 5, 2020
This page may contain affiliate links; if you purchase through them,
we may receive a small commission at no extra cost to you.
Sauerkraut isn’t exactly an Ecuadorian staple. That’s one of the great things about living overseas; it pushes me to make the foods I love but can’t easily buy.
A couple of years ago, I had tried to make sauerkraut at home and the attempt resulted in a moldy mess. It actually scared me a little and I decided that fermenting foods wasn’t for me. However, back then I could easily buy fresh sauerkraut at the local market. Unfortunately, there are no great sauerkraut makers in Ecuador… until now.
The Art of Fermentation
Enter Sandor Ellix Katz and his book, The Art of Fermentation. Sandor taught me that mold on top of a fermentation is actually very normal. It’s what’s under that mold that matters.
The first time I tried fermenting cabbage, I had done so in a pottery crock. I could not see underneath the mold. And we all know that eating food that has gone moldy is a bad idea.
This time I around, I elected to ferment in a clear glass jar so that I could actually see the process. And it made me feel much better. I have pictures to share with you and can tell you that a six week fermented cabbage tastes lovely.
Ingredients
- 1 large cabbage, shredded with the large outer leaves reserved whole
- spices of choice; I used juniper berries
- salt, the best quality you can find
Equipment
- 1 large jar
- weights; I used rocks
- fabric cover the jar; you need air to be able to leave the crock
Instructions for Sauerkraut
Place your shredded cabbage in a large bowl. Liberally salt it. There is not right or wrong amount of salt. In fact, according to Sandor, you can ferment without salt. Nonetheless, I believe we’d would miss an essential flavor in the sauerkraut. Try to stay away from regular table salt and use a good quality sea salt. In memory of California, I used some of our special Monterey Sea Salt.

The cabbage will start to feel slick as it releases water. That’s what you want. You can massage your cabbage as much as you like to help it leach out water. The thinner you’ve sliced your cabbage, the easier this process will be.
Pack the Sauerkraut
Once it’s started to weep, start packing it into your jar. Pack and pack and pack. Press it on in as tight as you can. On top of all your shredded cabbage, lay down the outer leaves that you had saved. These guys are going to be your mold barrier. The mold will grow on top of the whole leaves and make it easy for you to remove that nasty layer that you would have preferred didn’t grow in the first place.
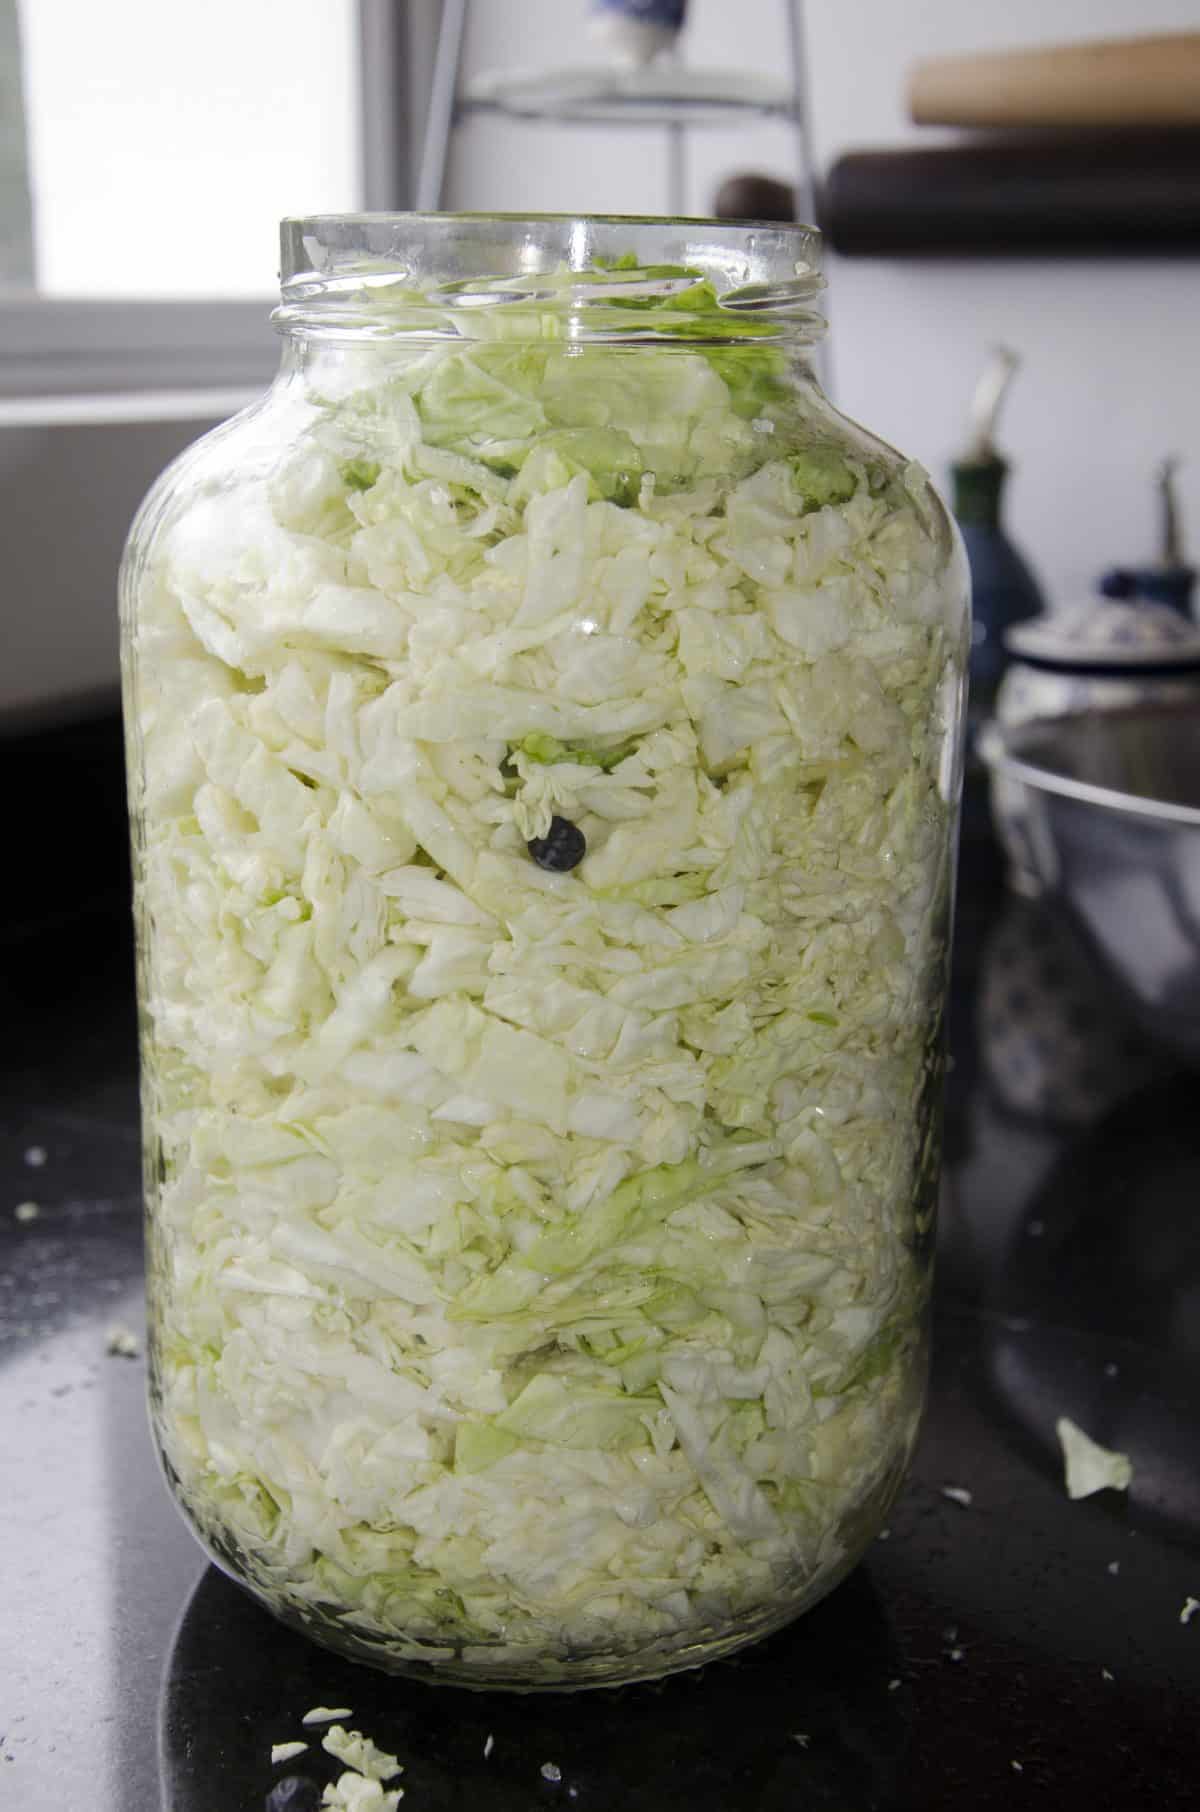
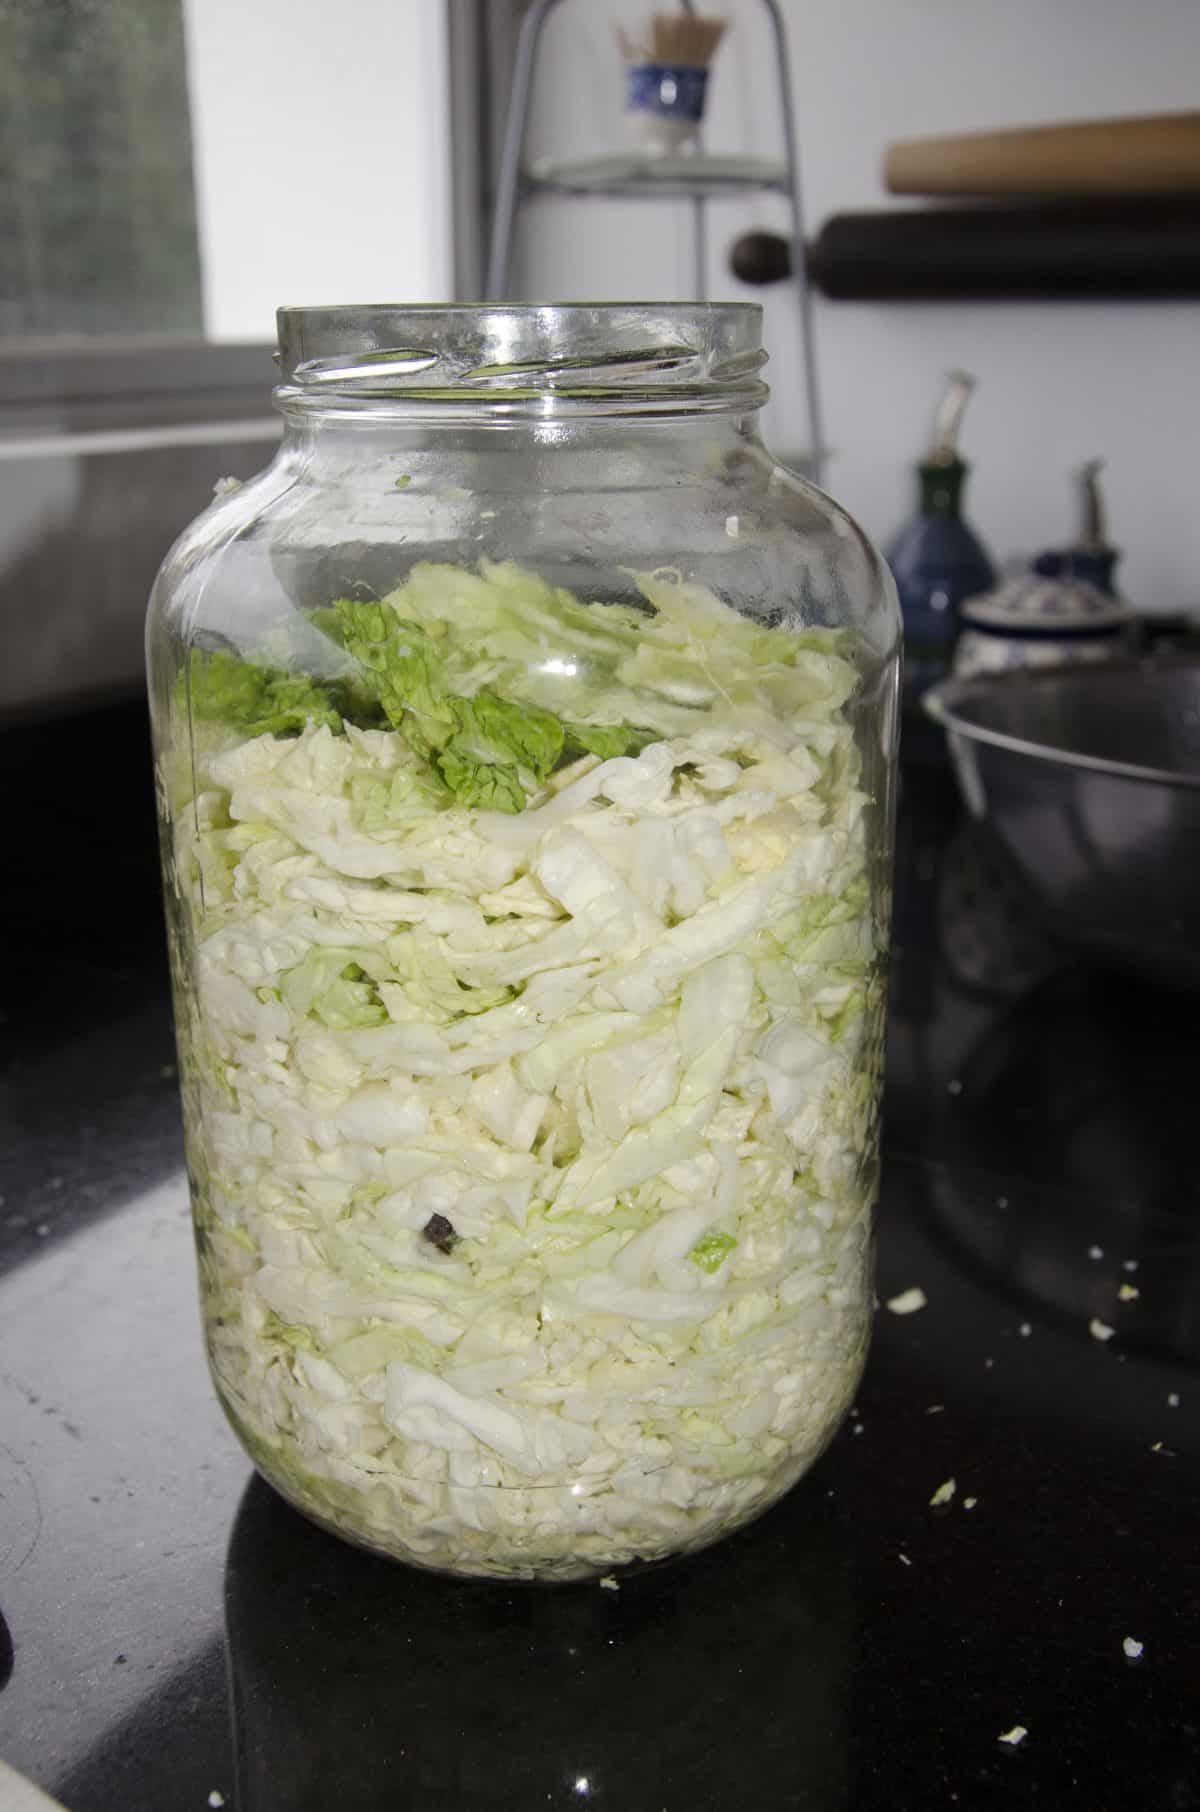
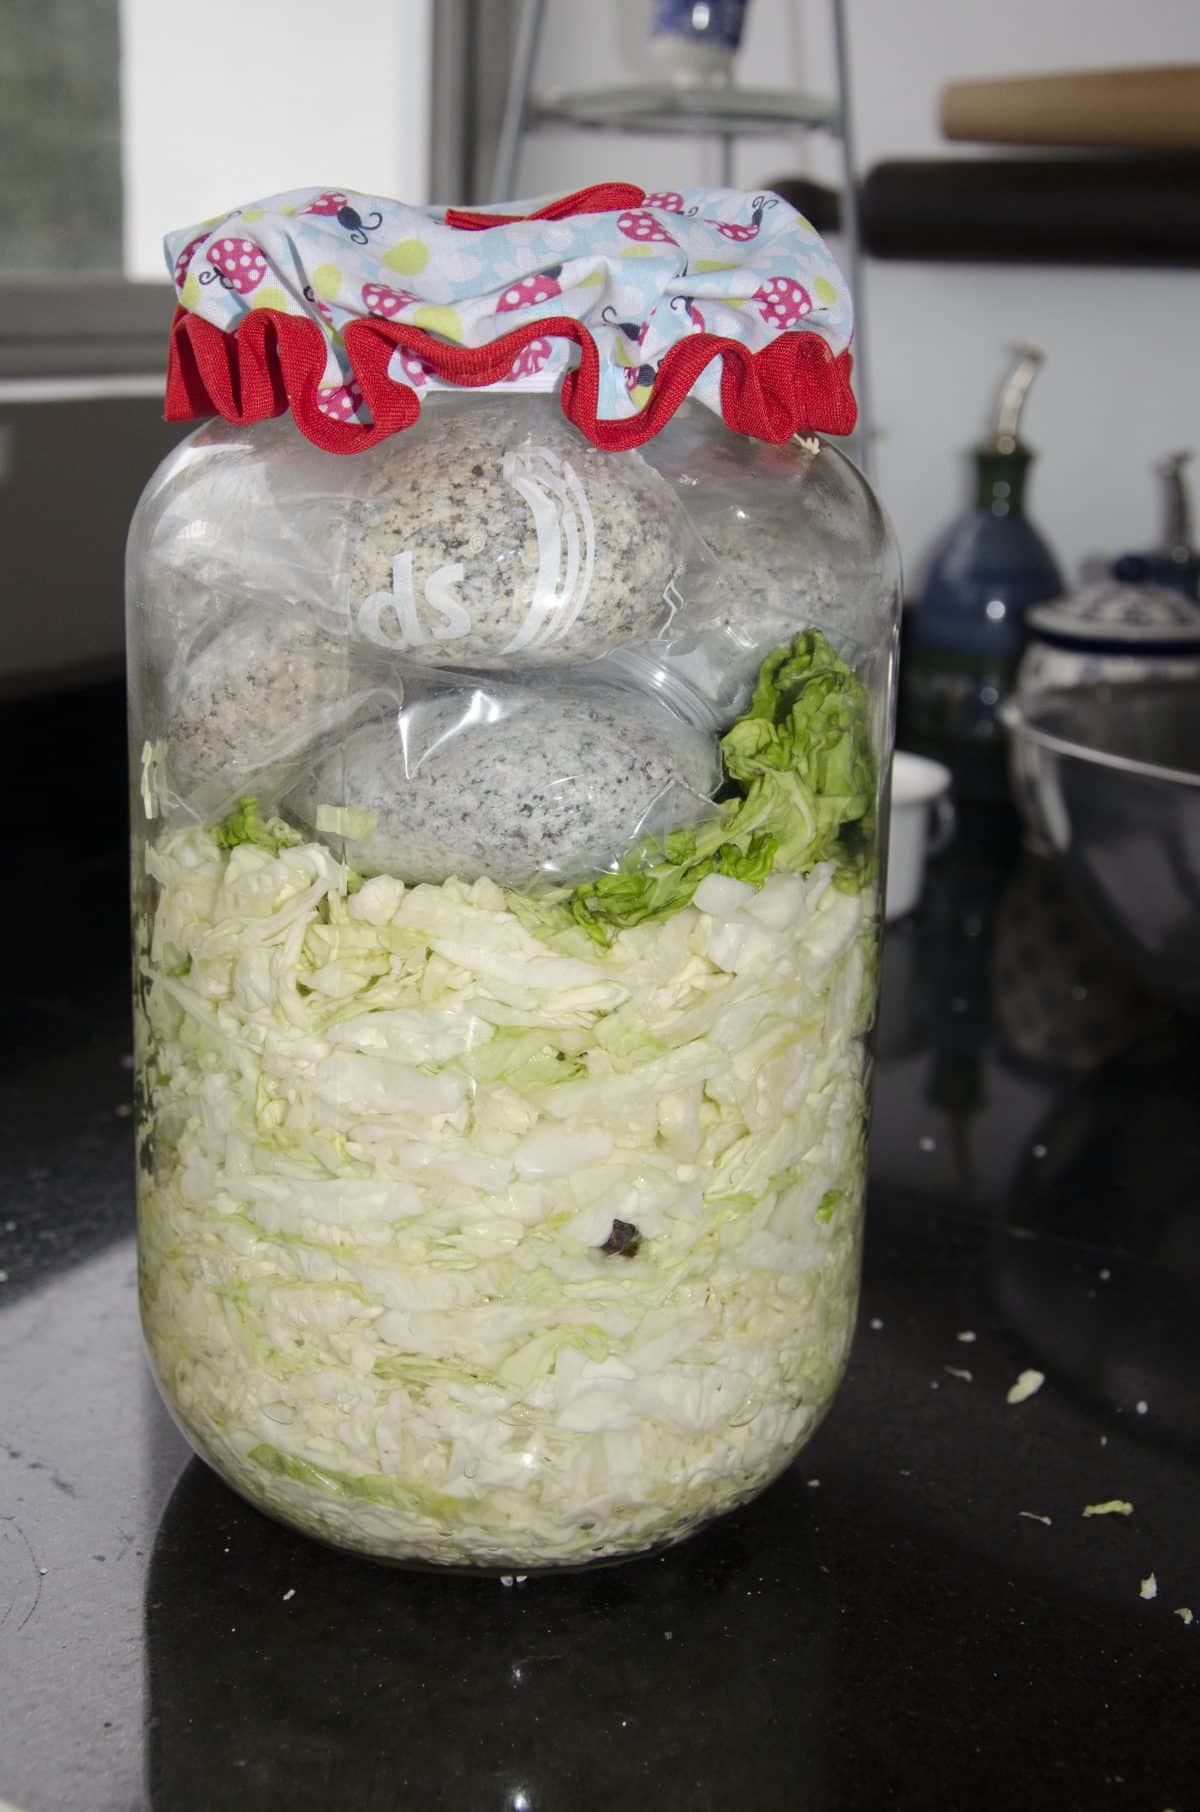
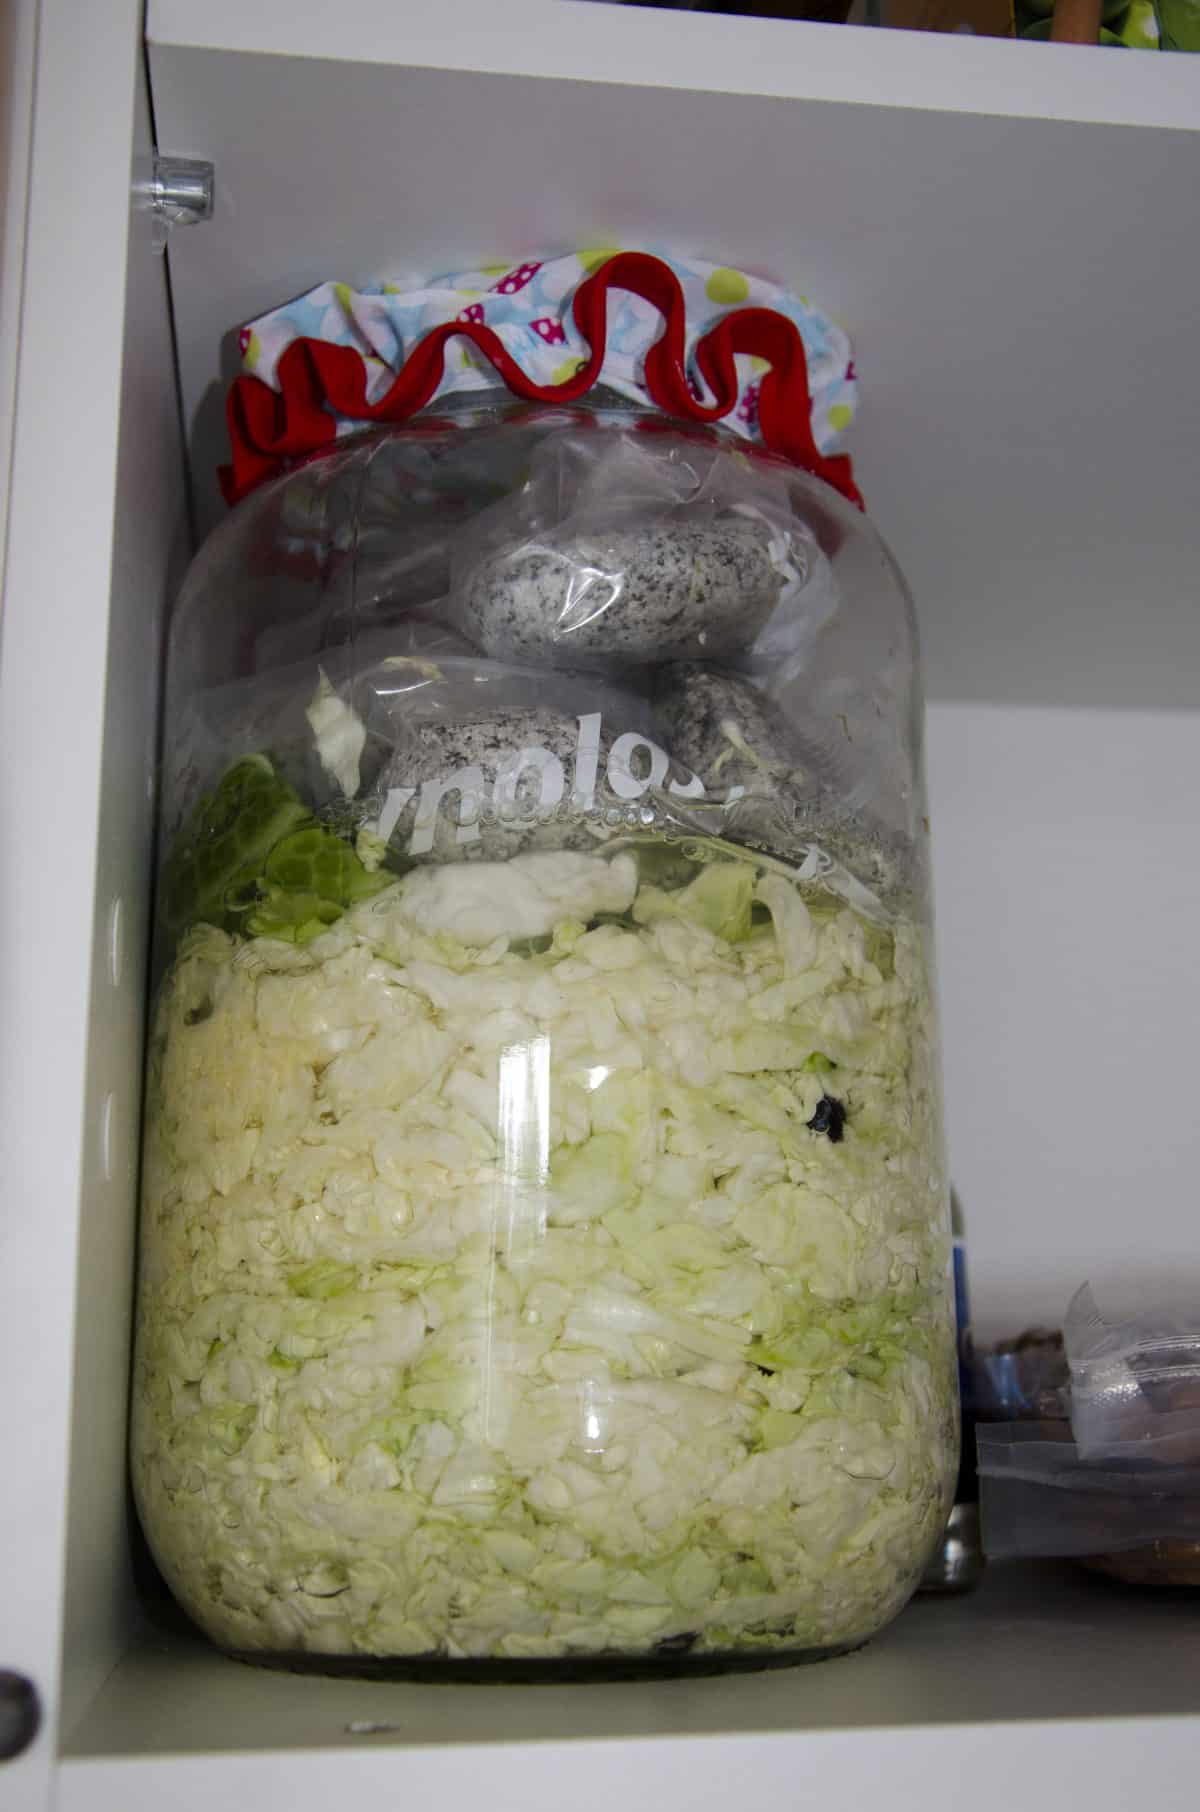
Next, add your weights. I placed a few beach stones in plastic bags and used them. You can use a small plate that fits if you’ve used a wide-mouth crock. Or even a bag filled with water can be helpful. Anything to keep the cabbage weighted down. Then cover this with a thin layer of cheesecloth or other fabric that allows air to pass through but prevents anything else from getting in.
Weep Sauerkraut, Weep
Give your cabbage 24 hours to weep all it can. If you’re fortunate, the jar will be filled with water the next morning. All the way over the top of your cabbage. If it hasn’t and the jar only needs a small addition, use filtered water to top off your kraut (I had to add about 1/2 cup). You need to make sure all of the cabbage is submerged. I can’t imagine that the jar won’t be at least 3/4 full but if not, then make a brine from filtered water and salt and top off with that.
Time to Wait
Now you’re ready to let your sauerkraut sit.
I chose an out of the way cupboard where the temperature stays pretty consistent and the cabbage could remain in the dark, especially since I chose to use a jar instead of a crock.
At first, I would check on my kraut every few days. Until we went away. Unfortunately, I forgot about it. When I remembered, the sauerkraut had compressed to about half its size. The liquid had evaporated, allowing a layer of mold to grow.
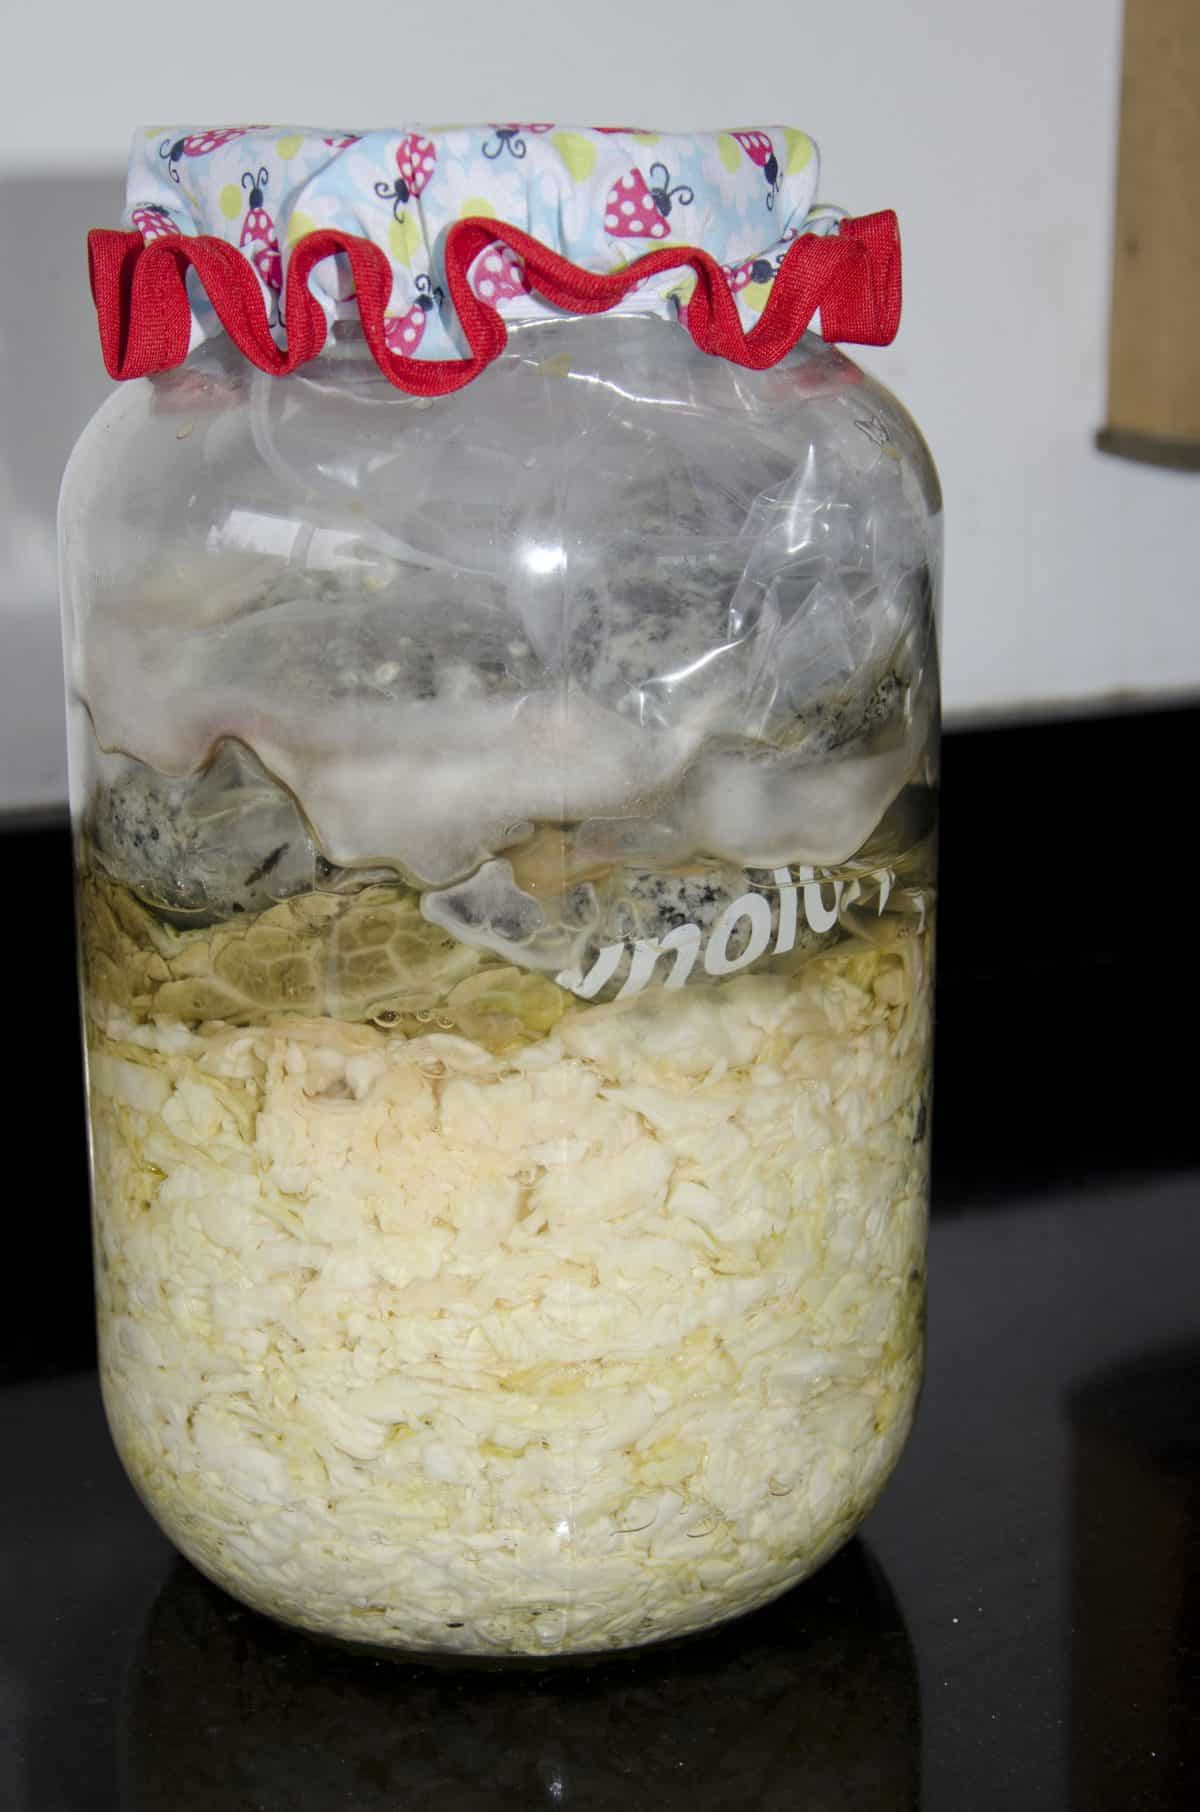
Delicious Sauerkraut Under The Mold
I was a little worried even though I could see the proper color of sauerkraut underneath the fuzzy layer. When I took out the rocks and removed the nasty layer of whole leaves, I found the most gorgeous sauerkraut underneath. It smelled slightly sour and salty, but fresh like the ocean. And it tasted perfect, not too sour and with a crunch that was pleasant. Not mushy at all.
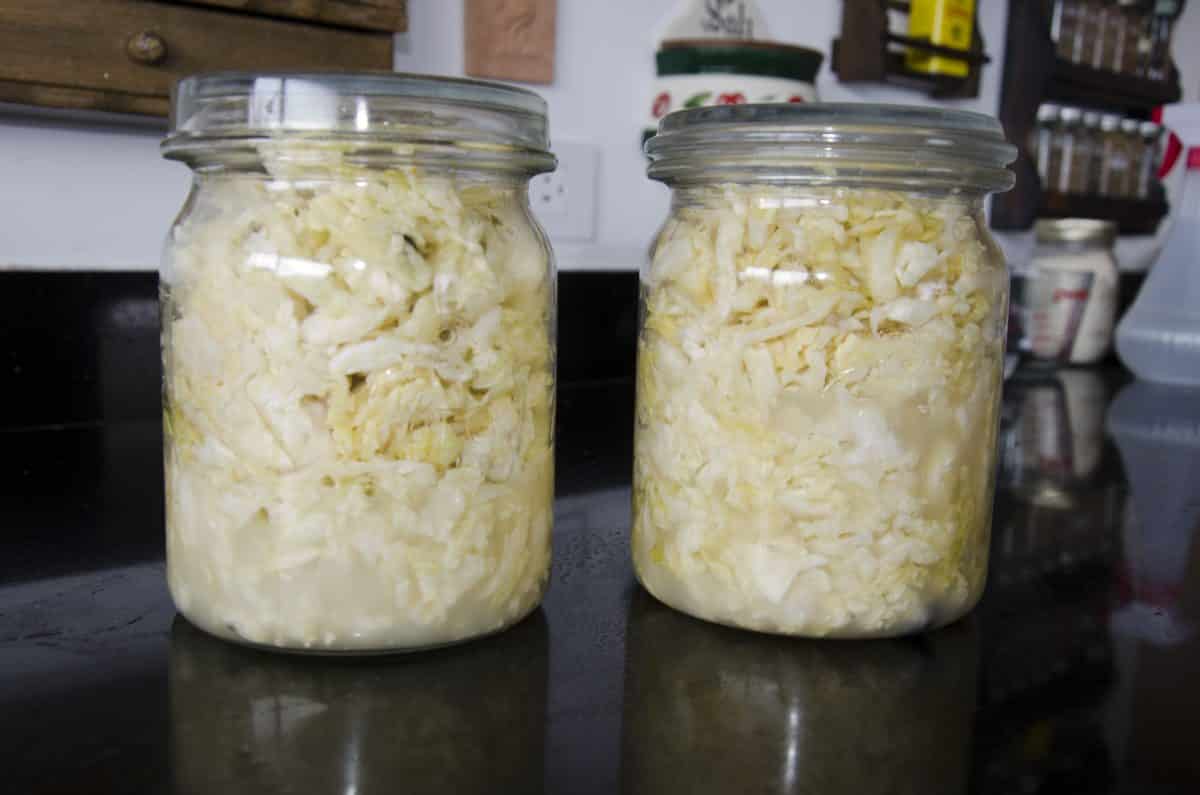
I took out the quality sauerkraut and placed it and the liquid in two glass jars. They are sitting in my refrigerator, one of them already half empty. In some ways, it’s a shame I’m the only person in my house that likes sauerkraut. But who am I to complain if I get to eat it all myself?
This post was originally published on March 15, 2014. It has been reformatted and edited for clarity.


I love how you created your own weights, I’ve never seen that before! I’ve been wanting to ferment my own sauerkraut as well. What do you mean when you say to wait for the sauerkraut to “weep”? Thank you for sharing!
Hi Brittany! So glad you like the weights… my military upbringing sort of taught me to use whatever we had on hand! I blame my ingenious mother for that one.
As to weeping – basically the cabbage will cry out a lot of water. It is actually a chemical reaction caused by the salt. It pulls the water out of the cabbage and helps fill the container with liquid.
Good luck with your sauerkraut making!
I hadn’t tried kraut before – either making it or eating it! This was delicious and will be made again. As soon as we run out. Thanks for the easy recipe!
I love success stories!!!
I just opened the first jar of my most recent batch. A 17 day old kraut, this time I used a lot of cut up brussels sprouts in it, along with cabbage and sliced carrots. It turned out pretty good. I make mine in wide mouth quart jars, leaving the lids snug, but not tight, so the gas can escape, but the oxygen stays out. I have very little trouble with mold. I also place the lid from a mustard or mayo jar upside down on top of the kraut, below the lid, the lid fits the opening just about perfectly. This also helps to keep the oxygen out and thus keeps the mold from forming. Every few days, I top the brine off with some fresh brine, since it does escape with the gases. Other than whatever veggies I have on hand, I use only water and sea salt, no spices, but some hot peppers might be good!
Sounds like some excellent suggestions. I especially like the upside down mayo lid. I will give it a go next time! Thanks 🙂
Dear AJ How did your radish turn out?
I had some bad luck with the radish fermentation – yeasts that didn’t taste so good seemed to be taking over in my kitchen. Not sure if the high altitude had anything to do with it or not. My vinegars and kombucha were okay, but my sourdough pot and my veggie ferments were tasting off. I’m ready to start again 🙂
Yes, don’t ever give up!
I’ve been making my own delicious sauerkraut for quite a while here in Ecuador and I have never seen any mold. But I pack it very tightly with my fist, so the juice that is squeezed out covers everything (there is no cabbage sticking out). Then I put some weight on top (a small jar filled with water works great).
Glad to hear it. I have to admit that seeing mold can be disconcerting but after reading Sandor Katz, I’ve decided not to worry about it too much. I do think that the length of time the sauerkraut if fermented makes a big difference and I prefer the flavor of a long ferment. I’ll be sure to try your small jar trick though… sounds better than my rocks in a bag!
I tried this a few years ago and had the same reaction you had about our fear of moldy food stuffs. The clear crock is a perfect idea to solve that misgiving. Our grandmothers would be laughing at our timidity I’m sure.
I must have gotten braver – have radishes fermenting right now. They showed up in the market in abundance and I decided to try a radish pickle and see what happens. Wonder what my grandmother would say about that?
Thanks for the education. Wish I could be there to help you eat it!
Ann
Me too! And my Dad… he would love this sauerkraut!